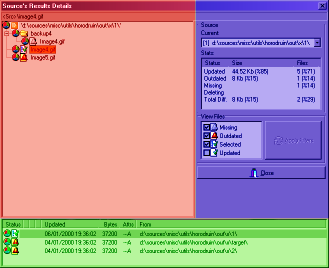
This window displays the sources results, and it's divided in 3 main panels.
The Navigation Panel (the blue one) contains some handful tools (see below).
The main panel is the Results' Tree Panel (the red one). Here are displayed the
source's comparison results.
The Comparison Panel (the green one) shows the file data across the filled sources.
From here you can:
|
 |
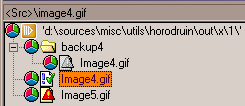
This panel contains the results of the file analysis. Every file has access rights & status icons. At the top of the treeview, there is the current selected item.
This item is the one shown into the Comparison Panel. You can select multiple items, and navigating through them by using CTRL+UP/DOWN keys. Note that you can select only visible items filtered from Navigation Panel. Once you have selected something, you can apply one of the supported operations. Actually you can:
|
|
Overwrite mark, and forced candidate selections are lost if you
invalidate the source data.
Delete mark, is mantained as long as there is at least one 'valid' source
containg the marked items.
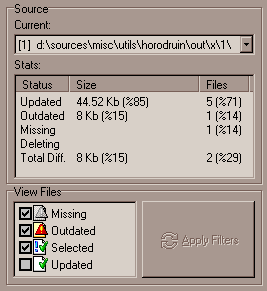
This panel shows the details of the current selected Result Tree item across
each filled source.
They are sorted by the newest (top) to the oldest (bottom).
Version infos are shown only if they are available.

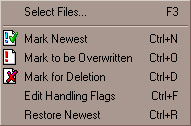
From here you can mainly do the same things, you can from the Result Tree, but you can also:
| Set Newest Candidate | Choose which file to use for the copy, i.e. the one copied
into all other sources. You can do it also by double clicking it. Note that by default newer & updated files are not overwritten. If you need to overwrite them, you have to mark them. |
| Mark to be Overwritten | An 'updated' file will be overwritten with the selected item. |
| Mark for Deletion | The item will be deleted. |
| Handling Flags | Edit item's Handling flags |
| Explore Source | A file explorer is opened into the folder containing the selected file. |
| Open File | To open the file with the default associated program. |
| Send To | To send the file to one of the external program (see Settings). |